Locating A Crash
The first step in this project’s workflow is to identify the location of the crash. The crash documentation is generated from the FR300 report that is completed by the responding police officer. This report contains location details pertaining to the crash that may include: a referenced intersection, jurisdiction, landmarks, mile marker, address, narrative, and diagram. When locating a crash, all of the information must be evaluated in order to create an accurate representation of the crash. Defaulting to only one piece of information can lead to incorrect crash locations. The following order of operations will guide the decision making process to locate a crash.
Note
The use of multiple monitors is recommended for this workflow.
1. Review all of the information
Before searching for the crash location, review the intersection information provided, read the crash narrative, and examine the crash diagram . The intersection information is summarized in the ‘Current TREDS Record’ section in the upper left corner of the main window. The narrative, landmarks, and diagram will appear in a pop-up tab that will load with the crash record.
Not Seeing Pop-Up Tabs?
Enable the browser settings to allow pop-ups from crash.cgit.vt.edu. This can usually be found at the right side of the browser's address bar.
Crash Diagram 
The crash diagram page will automatically load in a separate tab with each crash record. If the tab is closed, it can be reopened by reloading the map page. Clicking the diagram button in the top toolbar will open the diagram within the map page for quick review, and from here the Open in New Window button can also open or reopen the separate crash diagram tab.
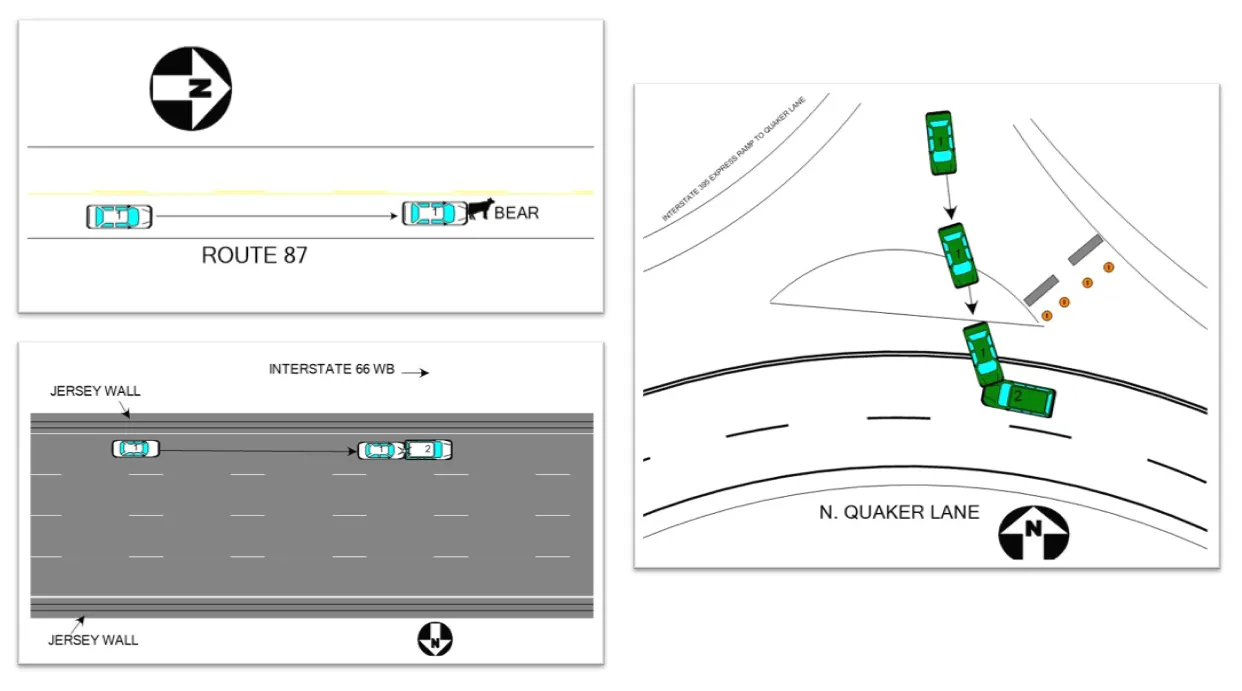
The crash diagram page contains the narrative, any landmark(s), and diagram provided by the responding officer. Use the rotation tools to orient the image according to the north arrow or other distinguishable features. Be aware that the diagrams will vary in the amount of detail and the orientation may not be accurate. The diagram should help identify the first harmful event of the crash to guide the placement of the new point.
Landmark information will only be shown if it is included in the crash documentation. Landmarks can include road names, addresses, businesses, or other relevant descriptions.
Sample crash diagrams.

2. Examine the given Latitude & Longitude
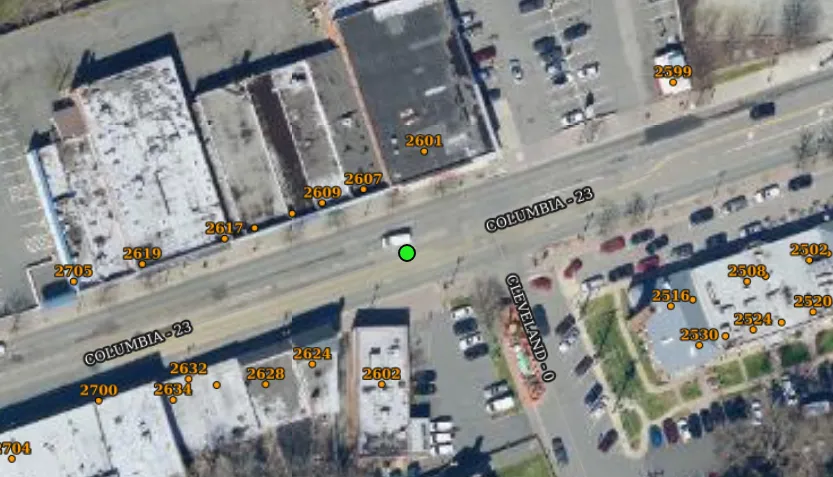
Identify the location of the latitude and longitude coordinates of the crash provided by the police officer. A green dot on the map will represent the latitude and longitude location. When necessary, use Navigate To... or the Coordinate Search to look up the coordinates. This information is not always available and its accuracy is highly variable.
Lat/Long Location Symbol

3. Find the intersection 
Every crash is referenced to an intersection. It will either be located in the given intersection or a distance and direction away from the intersection. There are automated processes used to clean up the road names to be used as search inputs. Be aware that some additional information may be included with the road names, such as an address number, supplemental road names, or landmarks.
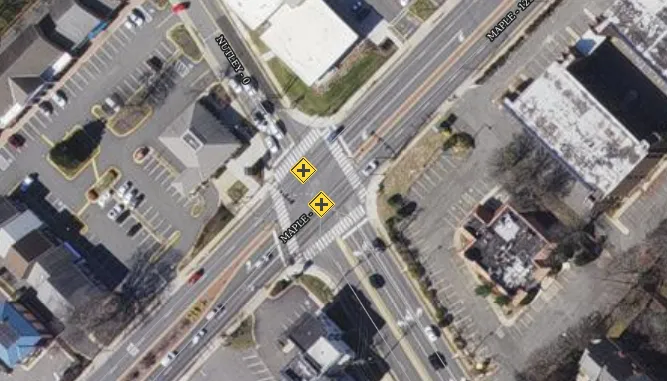
The system will attempt to locate the geometric intersection of the road center line segments for the primary and secondary roads. When successful, one or more intersection symbol(s) will appear on the map.
Clicking Navigate to... Intersection will pan and zoom to any intersection location(s) identified by the system. Checking the box next to Intersection after clicking the text for Navigate to... GPS location will pan and zoom to an extent that shows both the intersection markers and the GPS location.
Intersection map symbol

When necessary, manual corrections can be made to the road name by clicking the green text. If a road is named by its route number, the green search text should be the number only. This will allow the system to query the data for route numbers.
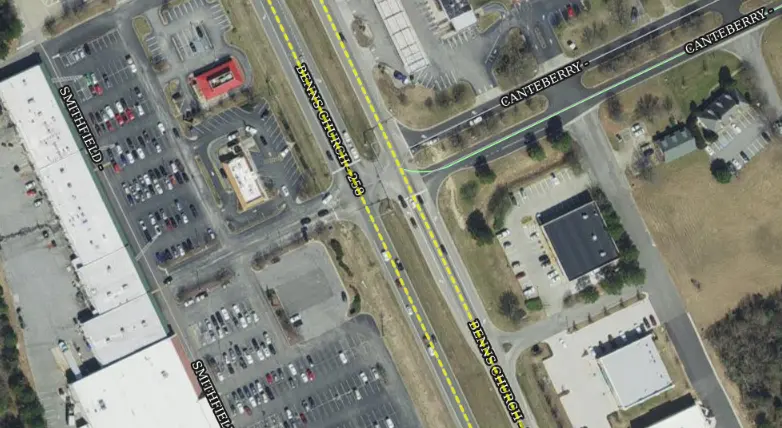
If the intersection is unable to be identified automatically, click the eye icon next to the primary or secondary road's name to highlight the query results for the given road name.
Example highlighted query results when searching for a single road name.

4. Measure 
Using the measure tool, measure the appropriate distance and direction from the identified intersection. Click once to add a vertex to the measurement line; double-click to finish the line.
Be aware that the distance and direction is likely an estimation made at the scene. Compare the location to the lat/long and other crash documentation.
5. Search for additional information
Some crash records will include additional information that can be helpful for geocoding the crash. Use the following tools to examine all of the details in the crash documentation:
Address 
Address numbers may be included in several fields within the crash record. Look within the narrative, ‘Primary’ and ‘Secondary’ road names, and the landmarks for possible address numbers. Use the address search tools to identify the location according to the VGIN locator service.
Mile Marker 
If mile marker information is included in the crash documentation, it will be shown below the distance and direction. The mile marker alone is not a reliable source to locate a crash due to inconsistencies in the reference data across the state, but it can provide clues as to where to the general area to begin searching.
To look for a ground-truthed mile marker location, right-click the map in the desired area and click View in Google Maps, then switch to the Street View tab. On most Interstates and a few other highways, green mile marker signposts may be found along the side of the road in street view. Sometimes these exist in 0.1-mile increments, but often they are less frequent. Exit signs in street view may also provide clues to go with mile marker information, if the exit numbers correspond with mile markers on the given route.
Drag the View in Google Maps window to the side to view a red map marker showing the location of the perspective shown in street view.
Landmarks 
Landmark information may be included within the crash narrative, diagram, or the landmarks field shown on the diagram page. This could be an address number, street name, or business name. Use the google search tools to help identify the location of the given landmark.
6. Create a new crash point 
Examine all of the information provided and identify the most accurate representation of the crash location.
Important!
The new crash point should be located at the “first harmful event”. For single car crashes, this would be where the vehicle initially loses control or runs off the road. If multiple cars are involved, this would be the initial impact.
Use the crash placement tool to create a point on the map. This tool uses a toggle button, allowing multiple clicks to move the crash point as needed.
Next: Set the location class
The system relies on a location classification to determine which attributes are required for a given crash:
- ‘Intersection’
- ‘Address’
- ‘Interstate’
- ‘Parking Lot’
Refer to the Assign Location Class documentation for guidance on choosing the appropriate class, and next steps.